Which Anti-Virus should you use to gain 100% protection?
Which files can be infected?
When should you install an Anti-Virus and how will you make an intelligent use of it? Most Important!
I will discuss them one by one.
1. Which Anti-Virus should you use to gain 100% protection?
During my Computing Experience I have lost a lot of data due to viruses, spyware and malwares. I have tried almost every anti-virus available in the Cyber planet but none could impress me as much as AVG Anti-Virus did. AVG is the best solution to all your problems related to worms and viruses. AVG Anti-Virus is ranked first at
www.download.com and is an award winning Anti-Virus.
Last year my computer was badly infected with worms and spywares. I used Kaspersky Anti-Virus and some other so-called great Anti-Viruses but none could catch and delete those worms as effectively as AVG did. I will highly recommend it. Its pretty simple to use and does not have confusing technical words like Quarantine, Disinfect, Filter etc. Its the best Anti Virus you can have, far far better than those so-called big names. The best thing about it is that you can get it for
free! with a lifetime free license Click here to download AVG Anti-Virus for free!2. Which files can be infected?
A virus often infects Explorer Files (.html), executable files (.exe –> Software Setups ), notepad files, WordPad files , MS-Dos files (.bat) etc
A virus can never infect Images (GIF, JPEG), Audios (mp3), Videos, PDF files and Flash files (.swf Only)
Since for youngsters images, videos, audios, PDF files, Flash web Movies are more important, therefore they need not worry. Even if the files are scanned not a single file will be deleted by the anti-virus because they can never be infected.
But assignments and projects prepared by Office workers are real targets of Viruses. The WordPad files and Spreadsheets can possibly be deleted by an anti-virus if caught infected.
3. When should you install an Anti-Virus & how will you make an intelligent use of it?
Using Anti-Virus the right way is an art. An Anti-Virus can only help you with all your Virus problems if you use it intelligently else it can turn into a nightmare!
When should you install an Anti-Virus?
You should only install an Anti-virus into your Computer if your computer starts responding too slowly or doing unusual things like:
Your computer restarts/shutdowns by itself,
The Folder Options menu at My Computer disappears
You can not access your drives
You can not open your drives unless you right-click and select Open
Your friends receive messages from you on Messengers like Msn or Yahoo, though you didn't send any,
You often receive the "Don't send error" in Win XP,
Your CD ROM opens/closes by itself
Too many windows error messages especially the win32 error
blah blah blah
If you are really suffering through all these problems then do install AVG antivirus just after a fresh installation of windows XP and scan all your drives for viruses.
How will you make Intelligent use of an Anti-Virus?
As I said above install an Anti-Virus just after a fresh installation of your operating system. If your operating system is a month old than installing an Anti-Virus will cause your operating system to stop functioning! Follow the steps below to make the best possible use of an Anti-Virus,
Install a fresh Windows
Just after the installation is complete install AVG Anti-Virus either from Internet or from a CD. Don’t open any of your Local drives……I repeat do not open any of your local drives. If you go to my Computer and open any of your local drive to install a program or for any other purpose, the virus in that drive will spread like air all over your system. It will penetrate into your System Drive [ Drive C where your operating system is installed]and will infect all important windows files. If you open any local drive or use a USB and then install AVG Anti-Virus, AVG will simply delete the infected files located in your system drive. As a result, your windows will stop working and you will have to reinstall it! Therefore to avoid this trouble, don’t open any local drive and don’t use a USB. Install AVG Anti-Virus and update it. You must update AVG before using it else purpose of scanning your drives will be useless
After installing and updating AVG simply go to My Computer and right click one of your local drives [Drive D, Drive E or Drive F etc] and select Scan with AVG free
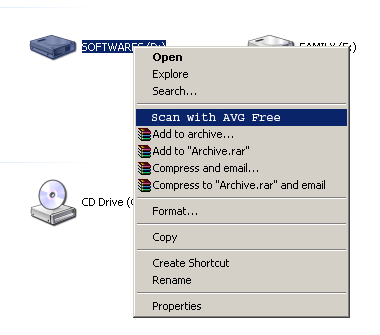
Do the same for other drives
Now insert any USB or CD that you may have and scan them just the way you scanned your drives. Remember do not open the contents in your USB or CD unless you scan them with AVG. Right click the Removable Disk in case of USB and select Scan with AVG Free. Once the scan is complete you can safely access the data stored in the USB or CD.
Finally scan your Drive C, where you have installed Windows XP. If you have followed correctly every step I discussed above, AVG must show Zero files infected.
After you have scanned each and every storage device, you may uninstall AVG Anti-Virus only if it began to slow down your PC.
By following all the above steps carefully you will surely become one of the best Computer Optimizer. The above tips have made my life peaceful. I hope it will make yours too.
Enjoy Long Lasting and safe Computing Experience!


 06:52
06:52
 paras ram
, Posted in
paras ram
, Posted in
 What do you do to shutdown or restart your windows XP? Of course you will do the following,
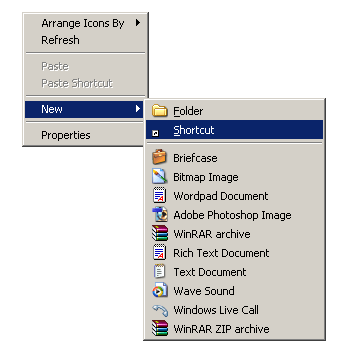

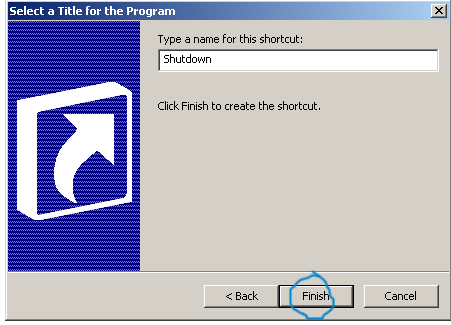

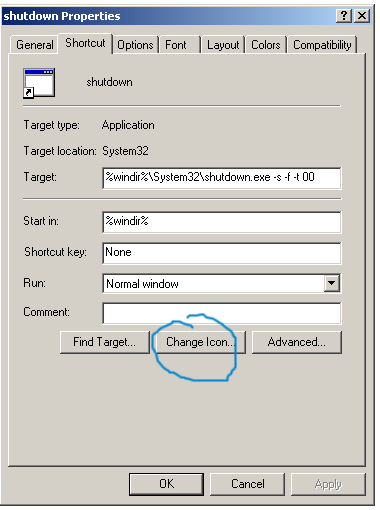


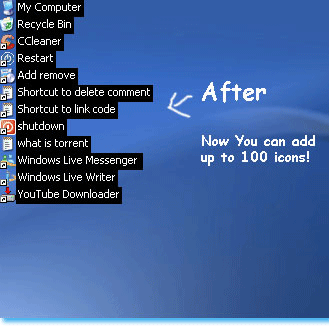
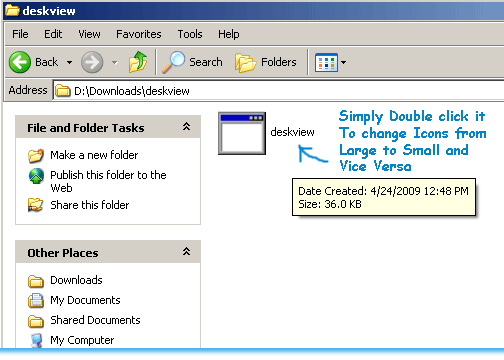
 Bored of that large bulky icons at your desktop? Want to change the size of icons at your desktop? Or Can you show up to 100 icons at your desktop without slowing down your PC and without distorting the beauty of your desktop? I am sure you will be excited to know how to do that. You have the option of changing the icon size in Vista but unfortunately you don’t have it in XP. But you don’t need to worry anymore!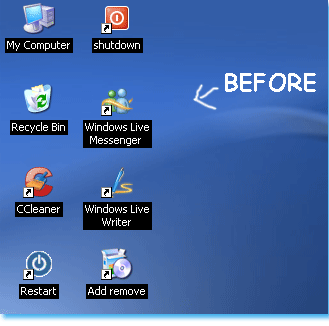
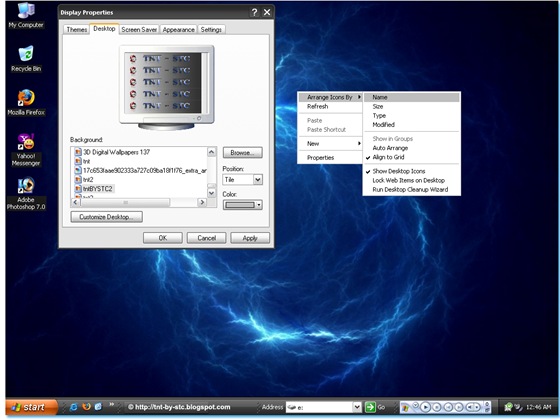
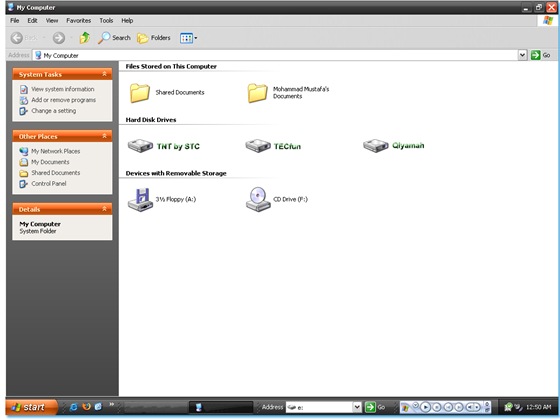
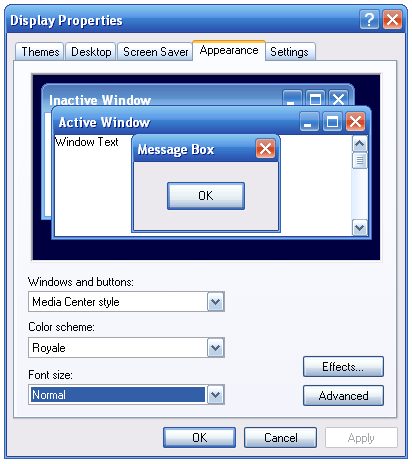
 Customizing Windows XP is now far easy than you can imagine! With the growing popularity of Microsoft's leading operating system i.e Win XP, more and more flexibility is added to windows XP to make it more user friendly. You can dress it up in any way you like!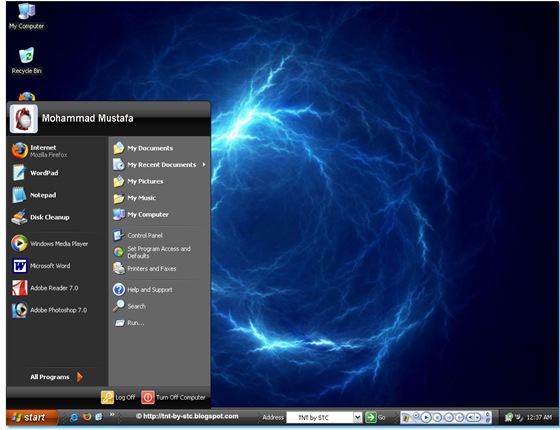

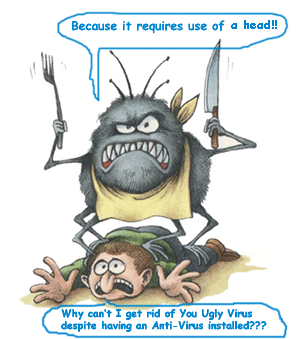 Internet is no more a safe place to work. Everyday your computer is attacked several times by external viruses while you browse. These spywares and malwares are a great threat to your computer performance and to the security of your data. Our passwords, credit card numbers, and other precious information can easily be leaked from our computer to a third party. In short there are viruses everywhere that serve to cause you nothing but harm!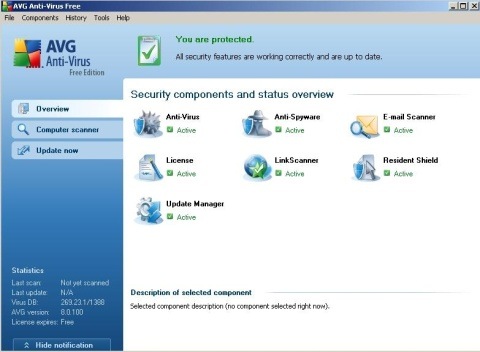

 When you write a post, letter, speech, essay, article etc, sometimes you need to convert a long string of words from Uppercase (From capital letters) to Lowercase (small Letters), and doing this is often a hectic and annoying work, because you have to rewrite the entire string of words in order to convert it to Capital letters or small. But now you don’t need to worry anymore! Because now Online Text Convertor services like

 Fed up of slow browsing speed? Don’t worry technology has brought many solutions. Mozilla Firefox is the best browser you can have. Many browsers like Safari claim to be thrice faster than Mozilla but they fail when it comes to innumerable features Mozilla can support whilst others can not. Mozilla Firefox even lets its users to speedup its browsing speed. You can make Mozilla run much faster than Safari just by tweaking Mozilla’s configuration.





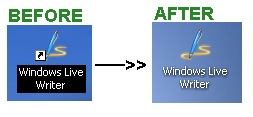 When you install a new program on your system, a shortcut icon with an arrow is created and placed at your desktop. To many of these arrows on desktop shortcut icons do spoil a desktop’s beauty and prevents you from giving a pro look to your desktop. So lets learn the TNT of removing these arrows forever!